Quick Summary
- Export workflow: Use Product → Export Localizations to create .xcloc files
- Import workflow: Use Product → Import Localizations to bring translated files back into your project
- Automatic integration: Xcode automatically updates your String Catalog when importing translations
- Language selection: Export specific languages or all supported languages at once
- File preservation: Never rename .xcloc files or folders – Xcode relies on their structure for import
What Are .xcloc Files?
When working with professional translators or translation services, you need a way to share your app’s localizable content and receive translations back. Xcode uses .xcloc (Xcode Localization Catalog) files for this purpose.
Each .xcloc file is actually a package that contains an industry-standard XLIFF file with all the strings for a specific language. This format is widely supported by translation tools and services, making collaboration seamless.
Prerequisites
Before exporting localizations, ensure you have:
- A String Catalog (.xcstrings file) created in your project
- At least one additional language added to your project
- Built your project to populate the String Catalog with localizable strings
If you haven’t set up localization yet, check out our guide: How to Create a Localization File in Xcode
Exporting Localizations
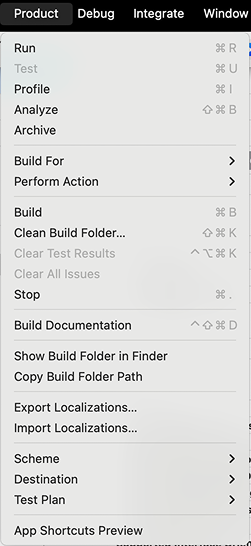
Step 1: Access Export Menu
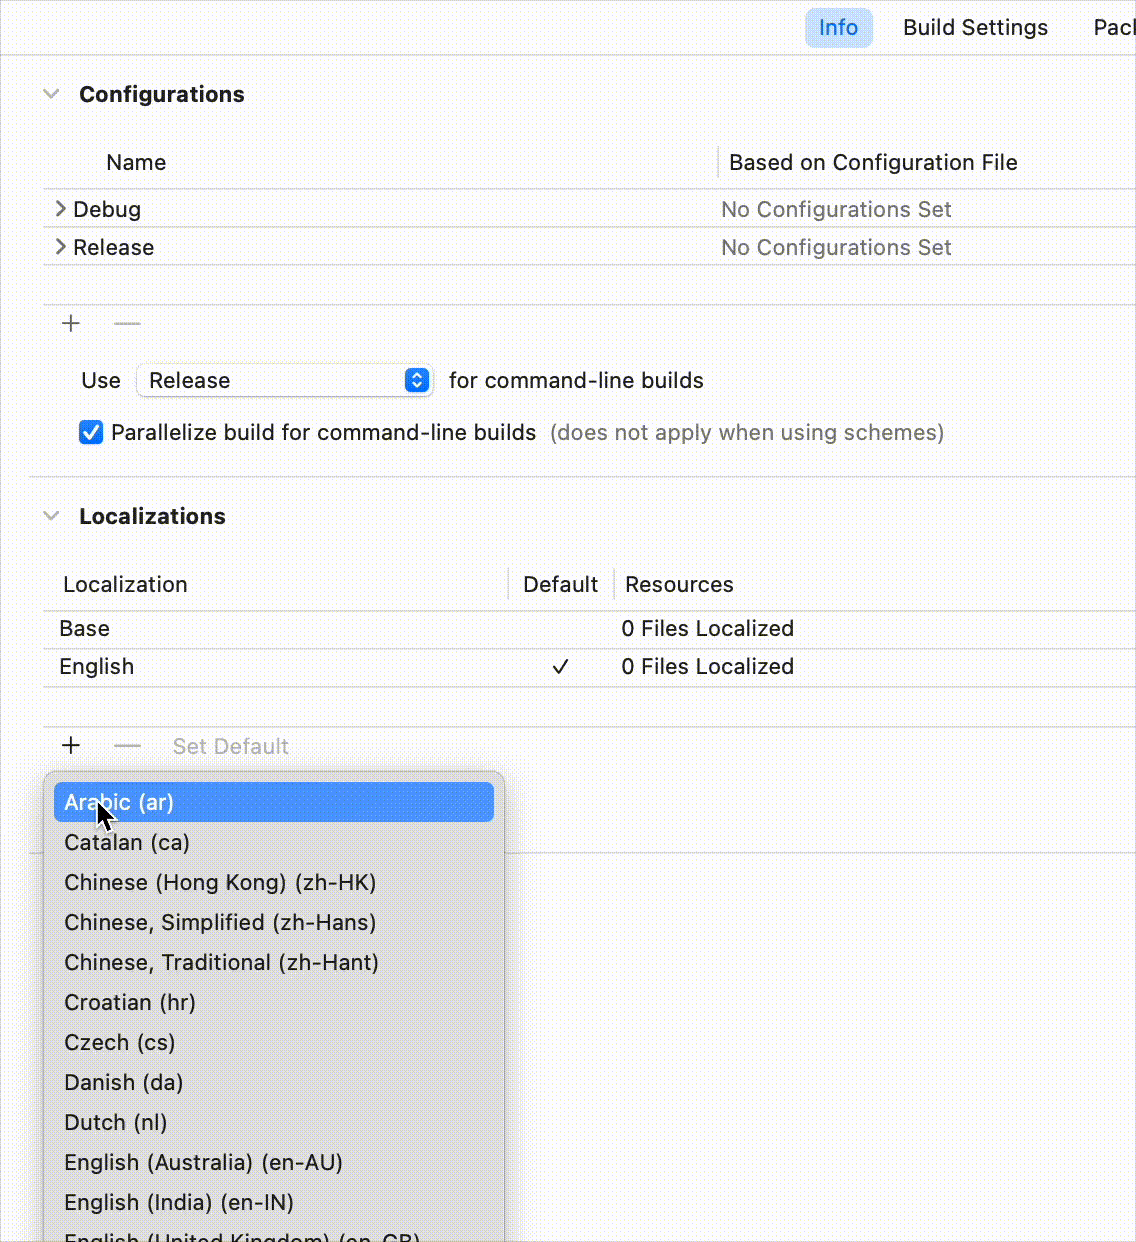
- Select your project: Click on your project name in the Navigator (not the target)
- Add your localizations to the list
- Open Product menu: Go to Product → Export Localizations…
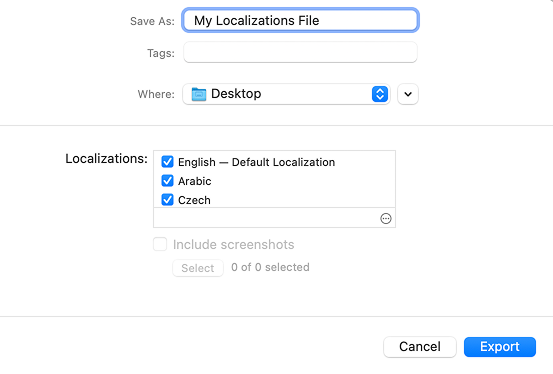
- Choose export location: Select where to save the .xcloc files
Step 2: Select Languages
In the export dialog:
- Choose languages: Select which languages to export (all are selected by default)
- Development language note: Your development language (usually English) contains the source strings
- Click Export: Xcode will create .xcloc files for each selected language
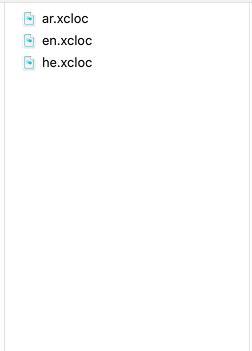
Step 3: Review Exported Files
Xcode creates a folder containing: Individual .xcloc files: One for each language (e.g., en.xcloc, fr.xcloc, es.xcloc)
Importing Completed Translations
Step 1: Import into Xcode
- Select your project: Click on your project name in the Navigator
- Access import menu: Go to Product → Import Localizations…
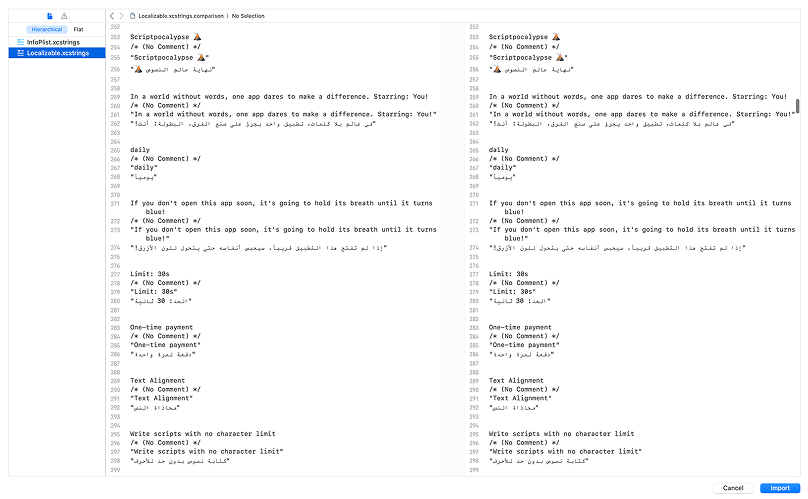
- Choose file: Select the translated .xcloc file you want to import
- Review changes: Xcode shows a preview of what will be imported
- Confirm import: Click Import to add translations to your String Catalog
Step 2: Verify Import
After importing:
- Check String Catalog: Open your Localizable.xcstrings file to see updated translations
- Progress indicators: Language completion percentages should increase
- Green checkmarks: Translated strings show green checkmarks in the state column
Testing Your Translations
After importing, test your localized app:
- Edit scheme: Click your app scheme and select “Edit Scheme…”
- Change language: In the Options tab, set “App Language” to the imported language
- Run your app: Build and run to see translations in action
- Verify context: Ensure translations fit properly in your UI
Troubleshooting
Common Issues
- Import fails: Ensure .xcloc file structure hasn’t been modified
- Development language import: Xcode typically doesn’t import development language .xcloc files unless translations were modified
Quick Fixes
- Re export if needed: Create fresh .xcloc files if import fails
- Check file permissions: Ensure Xcode can read the .xcloc files
- Build project: Sometimes building the project resolves import issues