With the introduction of String Catalogs in Xcode 15, Apple has modernized the localization workflow, making it easier to manage translations across different languages. This guide will walk you through creating and working with your iOS localization files, specifically focusing on String Catalogs.
What are String Catalogs?
String Catalogs are Apple’s modern approach to managing localized strings in iOS applications. Introduced in Xcode 15, they replace the traditional .strings files. Unlike the old system where you needed separate .strings files for each language, string catalogs consolidate everything into one file.
String catalogs can either be created from scratch, or be converted from existing .strings legacy files. We’ll first cover how you can create a new file from scratch if you haven’t localized your app before.
Creating a String Catalog File
Open your Xcode project
Right-click on your project navigator where you want to add the string catalog
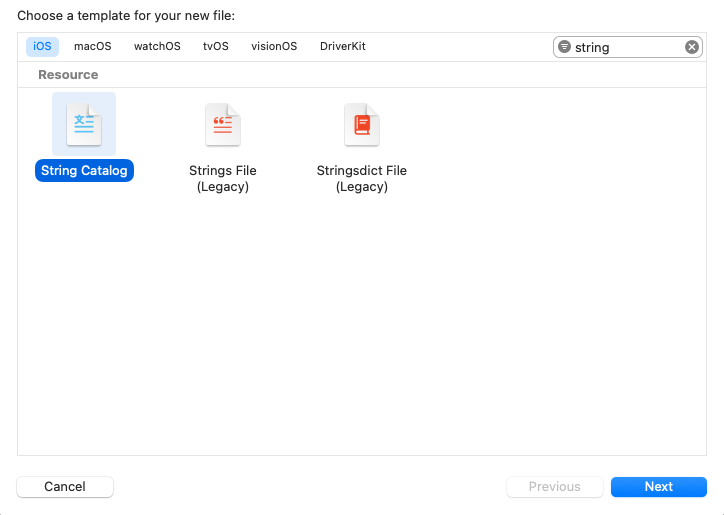
Select “New File…” or “New File from Template…” from the context menu
Choose “String Catalog” from the Resource section
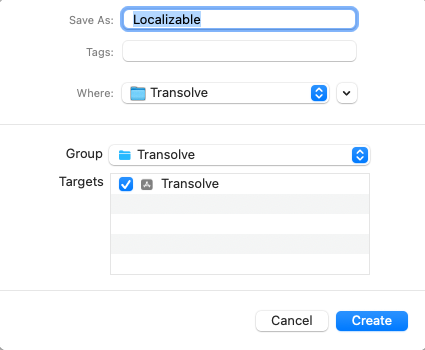
Name your file (typically Localizable.xcstrings)
Select your target and click “Create”
Build the project, it will automatically add all of your strings from the project.
Pro Tip: While the default catalog’s name is Localizeable, you should create another file with the name InfoPlist. this file will automatically have all of your app’s metadata for you to localize.
Converting Legacy .strings Files
If you have existing .strings files, Xcode can convert them automatically.
Select your existing .strings file in Project Navigator
Right-click and choose “Convert to String Catalog”
Xcode will create a new .xcstrings file with all your existing translations
Review the conversion to ensure all strings transferred correctly
String catalog vs legacy's .strings file
Although there are many reasons why string catalog is worth switching to, i’ll note here the best reasons:
Automatic string extraction from code – Xcode automatically detects and adds new localizable strings from your Swift code without manual intervention.
String variations for different contexts and devices.
Built-in pluralization support – Handle singular/plural forms directly in the interface without needing separate .stringsdict files.
Dedicated UI – Visual editor within Xcode for managing translations with side-by-side language comparison and translation status indicators
Best Practices
As you scale the app, you’ll be adding more and more features and supporting more and more languages. These can add up, creating enormous string catalog files. Eventually Xcode will have trouble opening the catalog, and in some cases it will crash. Following these practices will save you time in the future and make your project more organized, maintainable, and scalable.
Create string catalogs for chunks of content (e.g., Onboarding, Errors, Feature #1, Feature #2, etc.). Learn how to do it here.
Add comments to strings. This rule is written in blood. We mistakenly localized the word “Share” with its financial meaning instead of its social meaning.
Don’t over-localize – use the verbatim option or regular strings whenever localization is not necessary. Learn more here.
Don't localize alone
When you localize yourself, you almost guarenteed to make mistakes that you wont pick up. Use Transolve. It saves 99% of the hustle, and wont make the mistakes you’re likely to make.